In this tutorial, we will explain to you how to move your complete website old hosting to a new hosting provider in 13 simple steps.
Step::1 Log into your old hosting cPanel account and click on the File manager.

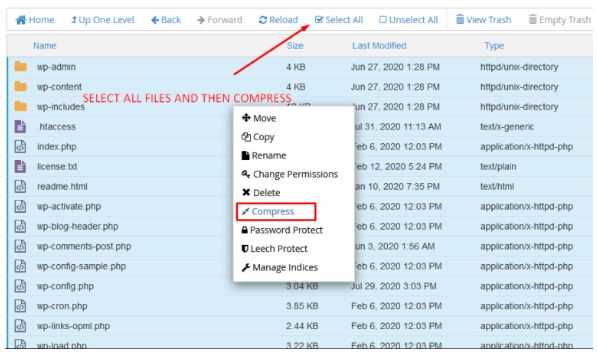
Step::2 In your File manager go to your Wp(WordPress) directory inside public_html and easily select all files and click on the Compress button and zip up all the files.

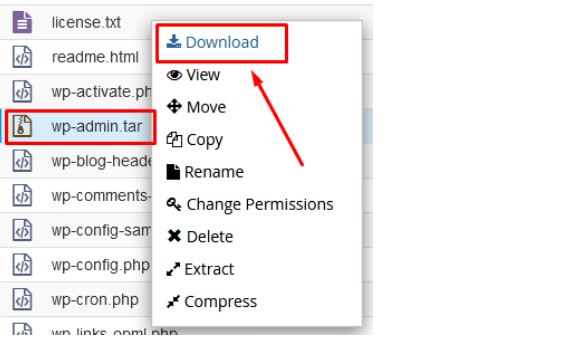
Step::3 After zipped, click on the zip file and then click on the download button to download the zip file.


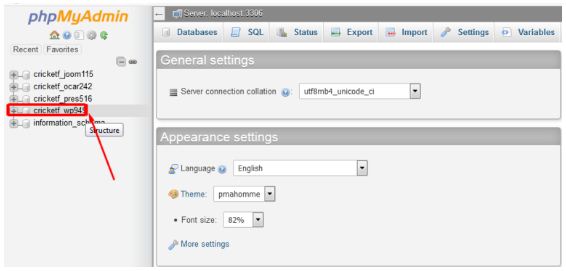
Step::4 Next step, log on to your phpMyAdmin and click on the database that belongs to your website.
Step::5 Go on the Export tab and then click the Go button to export the SQL file and save the SQL database file on your local PC.

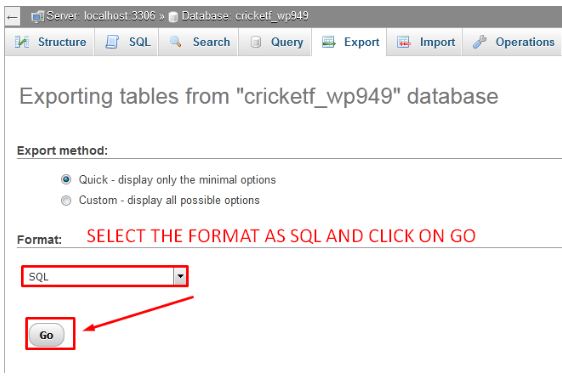
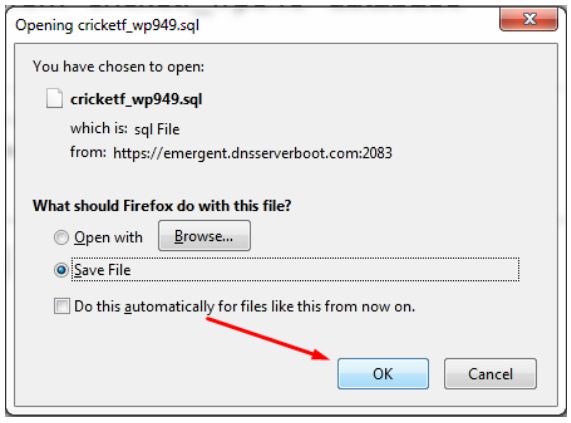
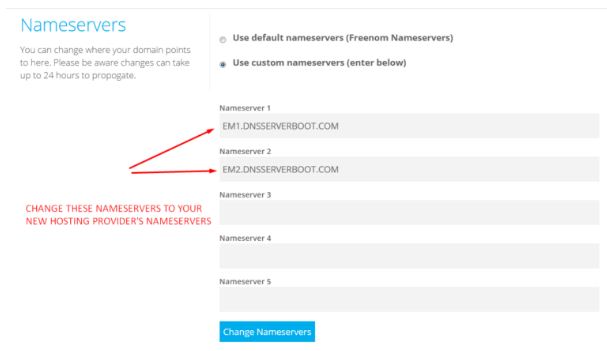
This will download the SQL file to your local PC. Now that you have a full backup of your site, go to your domain control panel and change the existing nameservers to the new hosting provider’s nameserver.
For demonstration purpose we are using the domain from freenom, so we are login into freenom control panel.
You can login to your domain control panel accordingly. If you have a domain from Godaddy or any other registrar then login to the domain control panel of the respective registrar.
Step::6 Next, go to your new hosting provider open the cPanel account

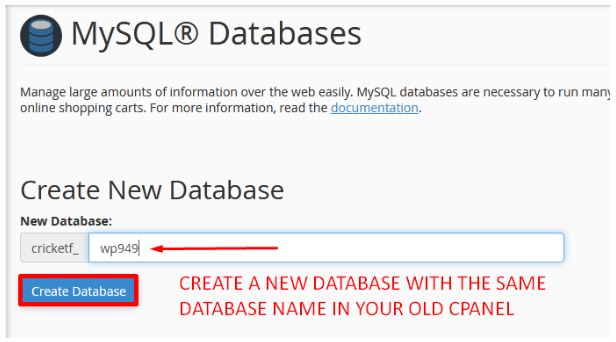
Step::7 Next Create a new MySQL database in your cPanel account with the same name as par your old cPanel and Add a database user.
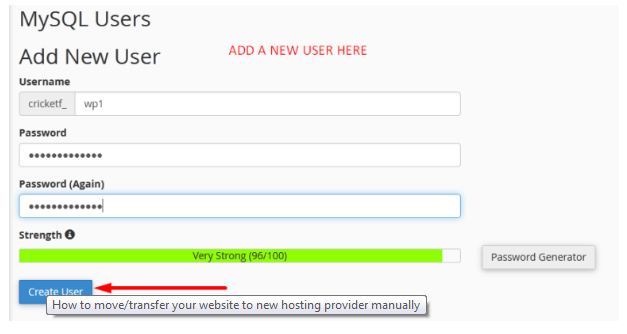
Step::8 Now Add this user to your Database and then assign all privileges and click on the Make Changes button

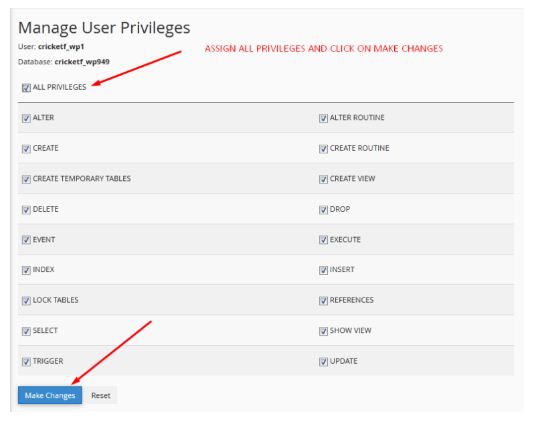
Step::9 Next go to the phpMyAdmin and find the database you just created.

Step::10 Click on the Import tab. And then Browse data from your pc and upload the SQL file that you downloaded earlier.

Step::11 Finally click over the Go button to import the database.

Step::12 Now select the File manager section and go inside public_html and click on the Upload icon and select the ZIP file you created earlier to upload it.

Step::13 After uploaded the ZIP file, right-click over it and then click on Extract to unzip all contents.

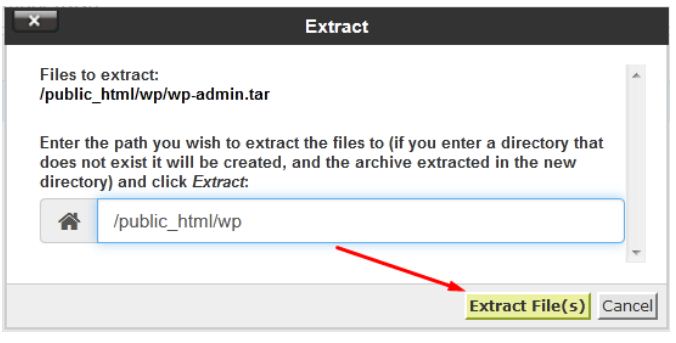
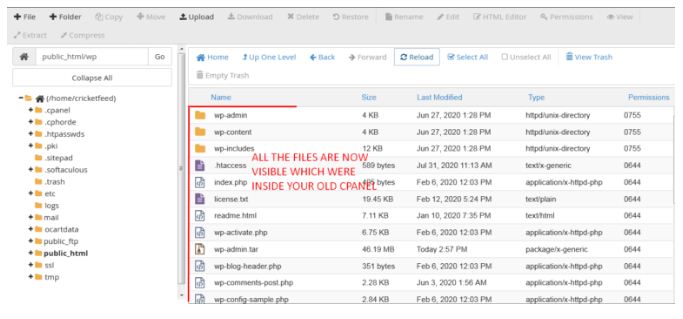
After successful extraction, refresh the page. You will see all the files and folders are visible.
Thanks for Reading this post- we hope this information helps guide you to the website Migrations process

